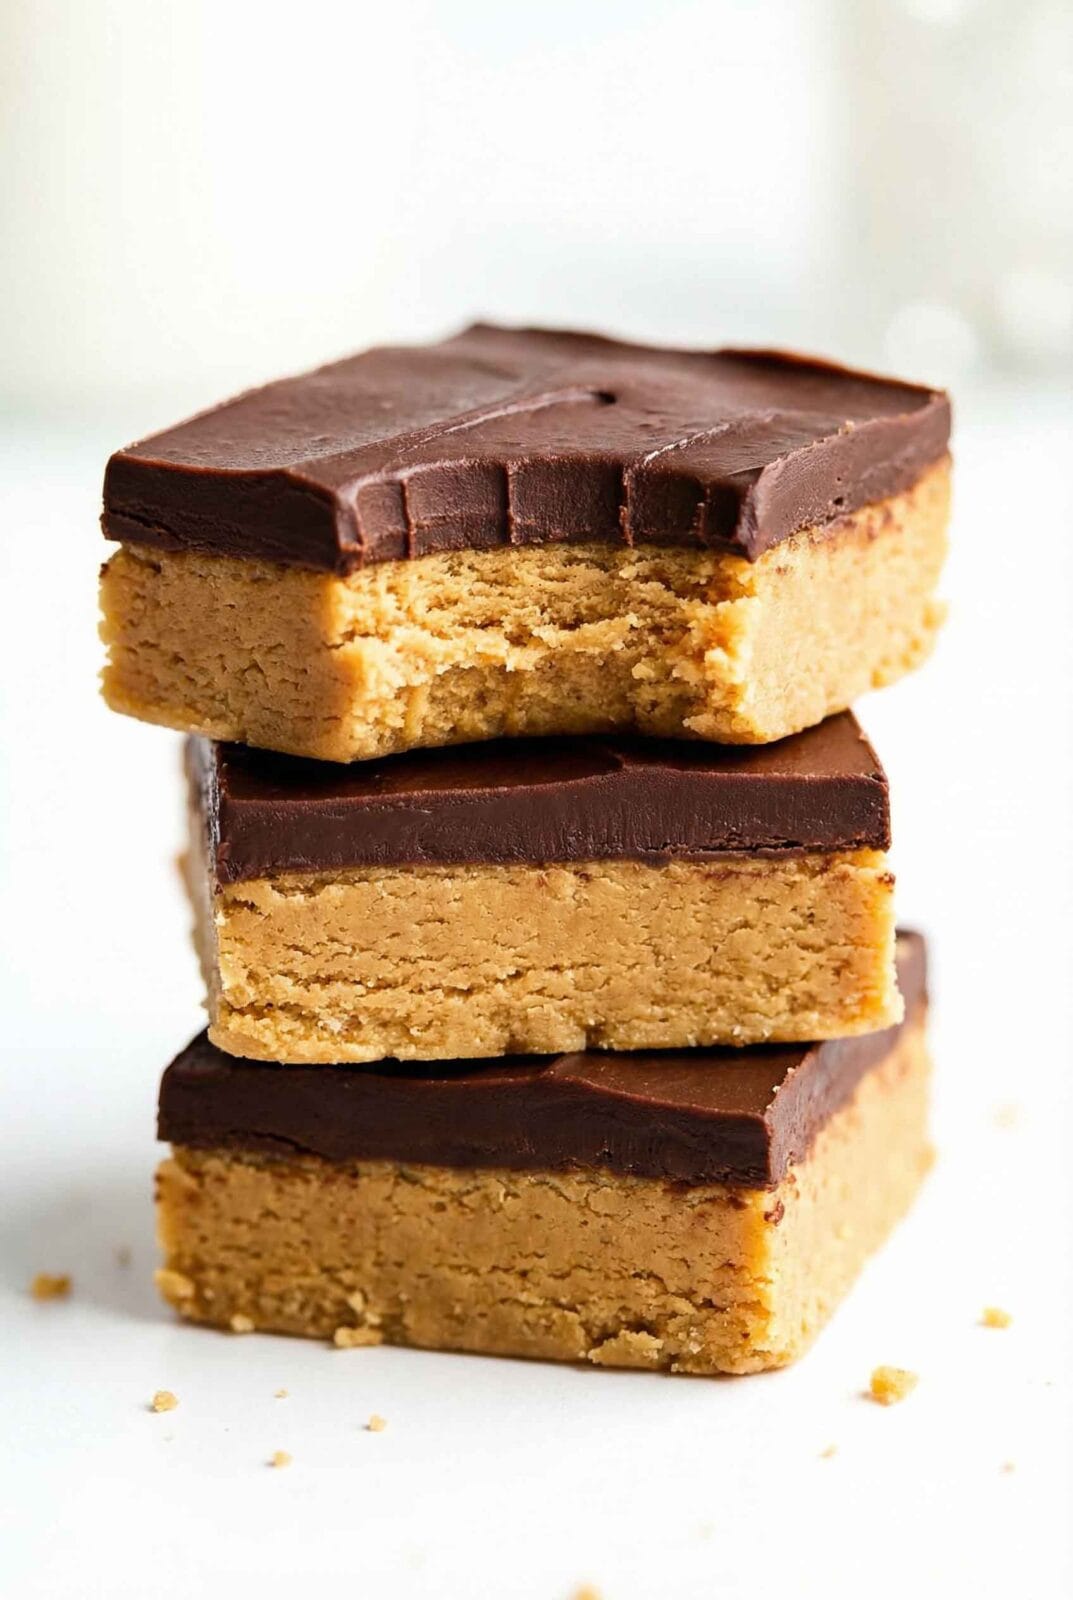
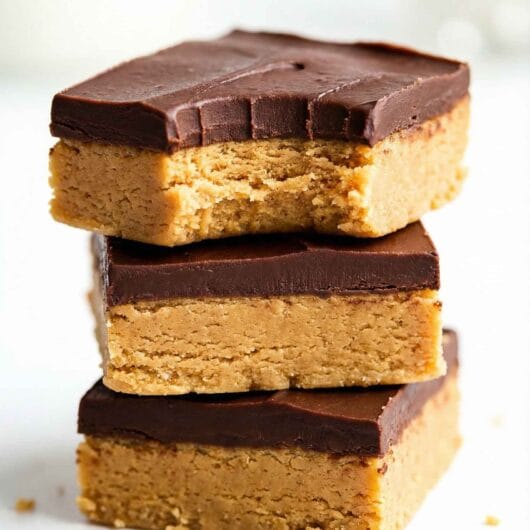
No-Bake Peanut Butter Bars (5 Ingredients, Reese’s-Style)
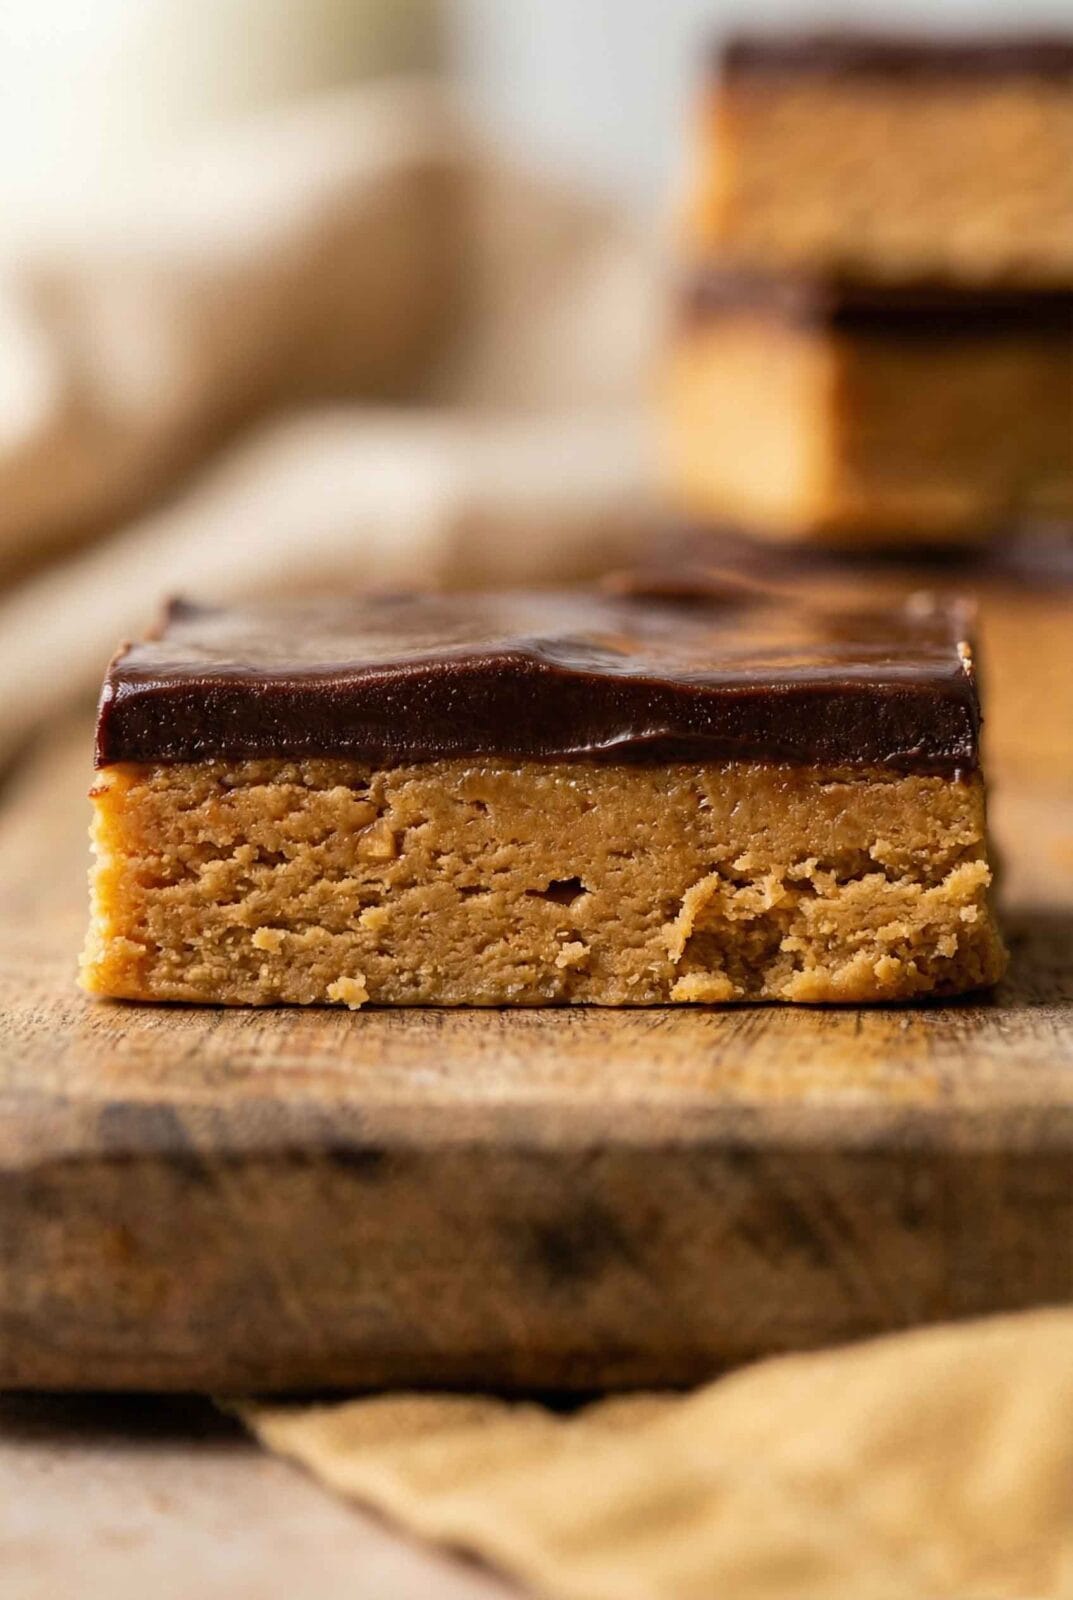
Thick, fudgy peanut butter base. Silky chocolate on top. No oven. These no-bake peanut butter bars taste like a peanut butter cup—basically Buckeye Bars, but in clean, sliceable squares.
Quick Summary
Line an 8-inch square pan with a parchment sling. Mix melted butter, fine graham cracker crumbs, confectioners’ sugar, and peanut butter; press into the pan. Melt chocolate with a spoonful of peanut butter; spread over the base. Chill until set, score, then slice with a warm knife.
No-Bake Peanut Butter Bars (5 Ingredients, Reese’s-Style)
Course: DessertsCuisine: AmericanDifficulty: Easy16
bars15
minutes1
hour30
minutes280
kcal1
hour45
minutesFive-ingredient, no-bake peanut butter bars with a fudgy base and silky chocolate top. Tastes like a Reese’s cup in bar form. Includes tips for clean slicing and natural peanut butter.
Ingredients
1/2 cup Unsalted Butter, melted (113g)
1 cup Creamy Peanut Butter (250g)
1 1/2 cups Graham Cracker Crumbs, very fine (150g)
1 cup Confectioners’ Sugar (115g)
Topping:
1 1/2 cups Semisweet Chocolate Chips (255g)
1 tbsp Creamy Peanut Butter (15g)
Directions
- Line an 8-inch square pan with parchment paper, leaving an overhang.
- In a large bowl, mix melted butter, graham cracker crumbs, confectioners’ sugar, and 1 cup peanut butter until combined.
- Press mixture firmly into the prepared pan; smooth with an offset spatula.
- Melt chocolate chips with 1 tbsp peanut butter in the microwave in 30-second bursts until smooth.
- Pour over the base and spread evenly.
- Chill for 15 minutes until chocolate dulls, score lines with a knife, then chill 1–2 hours until fully set.
- Lift out by parchment. Run a sharp knife under hot water, wipe dry, and slice into squares.
Notes
- Texture Tip: If the base mixture feels too wet or glossy (common with natural PB), add 1–2 tablespoons more graham crumbs until it holds its shape like damp sand.
- Pan Conversion: For a 9×13 inch pan, double all ingredients.
- Storage: Keep refrigerated for up to 1 week or freeze for 2 months.
Why This Recipe Works
Structure without heat: The base relies on peanut butter fat, confectioners’ sugar, and very fine graham crumbs to set firm in the fridge without baking—classic no-bake chocolate peanut butter squares with a fudgy bite.
No-crack topping: A little peanut butter stirred into the melted chocolate keeps the top glossy and sliceable (not brittle), so it won’t crack when you cut.
Clean edges: The chill–score–chill method gives bakery-neat edges: partially set the top, lightly score lines, finish chilling, then slice with a warmed knife for razor-sharp cuts.
Ingredients & Substitutions
- Peanut butter: Use creamy, no-stir peanut butter (Jif/Skippy style) for the most consistent set. Natural peanut butter can work—stir very well, measure by weight, and if the base looks glossy or loose, mix in a bit more fine crumbs until it feels like soft, moldable clay.
- Graham cracker crumbs: Use very fine, sand-like crumbs. Large chunks will keep the base from binding and cause crumbling when sliced. No grahams? Use digestive biscuits, tea biscuits, or pulse old-fashioned oats to a very fine meal. For gluten-free, use certified GF graham crackers.
- Confectioners’ sugar: Powdered sugar dissolves smoothly and helps the base set. If it’s clumpy, sift it to avoid pockets of sugar.
- Butter: Melted butter pulls the base together and adds richness. Unsalted or salted both work here.
- Chocolate: Semisweet chips are classic, but chopped bar chocolate melts smoother. Stir in a spoonful of peanut butter to keep the topping soft enough to slice. Prefer sweeter? Use milk chocolate.
Essential Equipment
- 8-inch square metal pan lined with a parchment sling (for thicker, fudgier bars).
- Kitchen scale (helps if using natural peanut butter).
- Silicone spatula and offset spatula.
- Microwave-safe bowl (or a small saucepan/double boiler).
- Long chef’s knife or bench scraper for cutting.
How To Make No-Bake Peanut Butter Bars
Line, Melt & Mix the Base
- Line an 8-inch square pan with a parchment sling so the overhang helps you lift the slab out cleanly.
- In a mixing bowl, stir melted butter, very fine graham cracker crumbs, confectioners’ sugar, and peanut butter until the mixture looks thick and uniform.
- It should feel like damp, pliable sand that presses together without weeping butter. If it looks shiny or loose, add a tablespoon or two of extra fine crumbs and fold again.
Press and Smooth the Peanut Layer
- Tip the mixture into the lined pan.
- Press firmly into an even layer, focusing on corners and edges.
- Use an offset spatula to smooth the top until it’s level and tightly packed—no loose crumbs.
- A firm press now equals cleaner slices later.
Make the Chocolate Topping
- Melt chocolate with a spoonful of peanut butter in short bursts in the microwave (50% power, 20–30 seconds at a time), stirring between bursts until smooth and glossy.
- You can also melt in a bowl set over barely simmering water.
- Pour the warm chocolate over the base and nudge it to the edges with the offset spatula, keeping the layer even.
Chill, Score, and Slice
- Chill the pan until the chocolate just loses its shine—about 10–15 minutes.
- Lightly score guidelines on the surface with the tip of a knife.
- Return to the fridge and chill until fully set, about 1–2 hours.
- Lift the slab out by the parchment.
- For professional cuts, use the Warm Knife method: run a long knife under hot water, wipe perfectly dry, then slice straight down.
- Wipe and rewarm between passes for glassy edges.
Pro Tip — No-Crack Chocolate Top
Spread the chocolate while warm (not hot), chill briefly to a soft set, then score before the top is rock-solid. When you finish chilling and cut with a warmed knife, the topping won’t shatter or smear.
Expert Tips
- Pack the crumbs tightly: If the base crumbles as you press, your crumbs are too coarse or the mix is too dry—pulse finer and fold in a touch more melted butter or peanut butter.
- Use natural PB wisely: Stir until completely homogeneous, weigh it, and add 10–20 g more fine crumbs if the base looks glossy.
- Choose your pan thickness: 8-inch square gives a taller, fudgier bar. A 9-inch square works too; the bars will be slightly thinner.
- Convert to 9×13 cleanly: For a standard 9×13 pan, double the entire recipe for similar thickness; chill time may increase slightly.
- Score, then slice: Score while the chocolate is lightly set, then chill fully. For picture-perfect squares, use the warm knife method (hot water → wipe dry → slice → rewarm).
- Keep it on-brand: These are no-bake peanut butter bars—aka buckeyes in bar form—not keto. If you need gluten-free, use GF grahams; save keto swaps for a separate recipe.
Storage & Freezing
Refrigerator: Store covered for 7–10 days. For the cleanest cuts, slice cold; bars hold well at cool room temp for a short serving window.
Freezer: Freeze whole or sliced for up to 2 months. Wrap tightly, then thaw in the fridge. For neat edges after thawing, run the knife under hot water and wipe dry before trimming.
FAQ
- Can I use natural peanut butter?
Yes. Stir it thoroughly, measure by weight, and add extra fine crumbs if the base looks shiny or loose. Chill fully before slicing. - How do I keep the chocolate layer from cracking?
Melt chocolate with a little peanut butter, spread while warm, chill briefly, score, then chill firm. Cut with a warmed knife. - Do these bars need to be refrigerated?
Yes. Chill to set, and store in the fridge. They can sit out briefly for serving, but return leftovers to the fridge. - Can I make them without graham crackers?
Yes. Use very fine digestive biscuit crumbs, tea biscuits, or pulse oats to a fine meal. Keep the crumb texture ultra-fine. - How do I cut clean squares?
Use the warm knife method: run the blade under hot water, wipe completely dry, slice straight down, then wipe and rewarm between cuts.