Easy Mug Brownie (Ready in 2 Minutes)
Craving chocolate at 10 PM? This mug brownie transforms three pantry staples into a fudgy, warm dessert in your microwave—90 seconds, one mug, zero guilt about heating the oven.
Quick Summary
Perfect for late-night cravings or when you need chocolate immediately. The microwave creates steam pockets that keep the center molten while setting the edges, giving you bakery-quality texture without the wait.
Why This Recipe Works
- Microwave steam cooking creates a fudgy center while setting the structure in under two minutes
- Single-serve portion eliminates leftovers and temptation to overbake
- Room temperature ingredients mix instantly without a stand mixer
- High cocoa ratio delivers deep chocolate flavor that doesn’t taste “microwaved”
- Minimal flour content prevents rubbery texture common in mug cakes
Ingredients Notes
All-Purpose Flour provides just enough structure without making the brownie dense or cakey. Spooning and leveling prevents a dry result.
Granulated Sugar dissolves quickly and creates the shiny, crackly top surface as it caramelizes in the microwave heat.
Unsweetened Cocoa Powder is the flavor base. Dutch-process gives smoother chocolate notes, natural cocoa adds slight tang. Either works.
Vegetable Oil keeps the crumb tender and prevents the brownie from drying out as it cools. Melted butter works but can make the texture slightly denser.
Milk activates the cocoa and creates steam during cooking. Whole milk adds richness, but any percentage works.
Vanilla Extract rounds out the chocolate flavor and masks any “raw” flour taste.
Salt amplifies the chocolate intensity and balances sweetness.
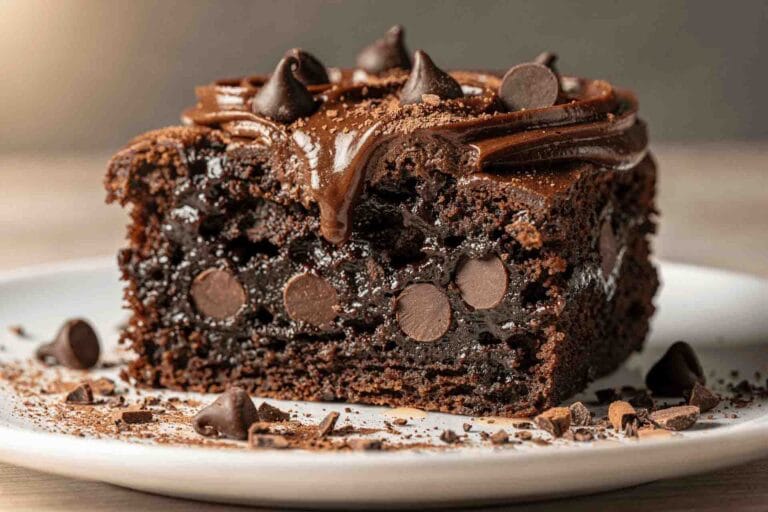
Chocolate Chips (optional) create molten pockets throughout. Mini chips distribute more evenly than standard size.
How to Make Mug Brownie
Mix the Batter
Add flour, sugar, and cocoa powder directly to your mug. Use a 12-16 ounce capacity to prevent overflow. Stir the dry ingredients with a fork until no cocoa streaks remain—this prevents bitter pockets in the finished brownie.
Pour in the oil, milk, and vanilla. Stir just until the batter looks smooth and glossy, about 20 seconds. A few small lumps are fine. Overmixing develops gluten and creates a tough texture. Fold in chocolate chips if using, keeping most near the top for visual appeal.
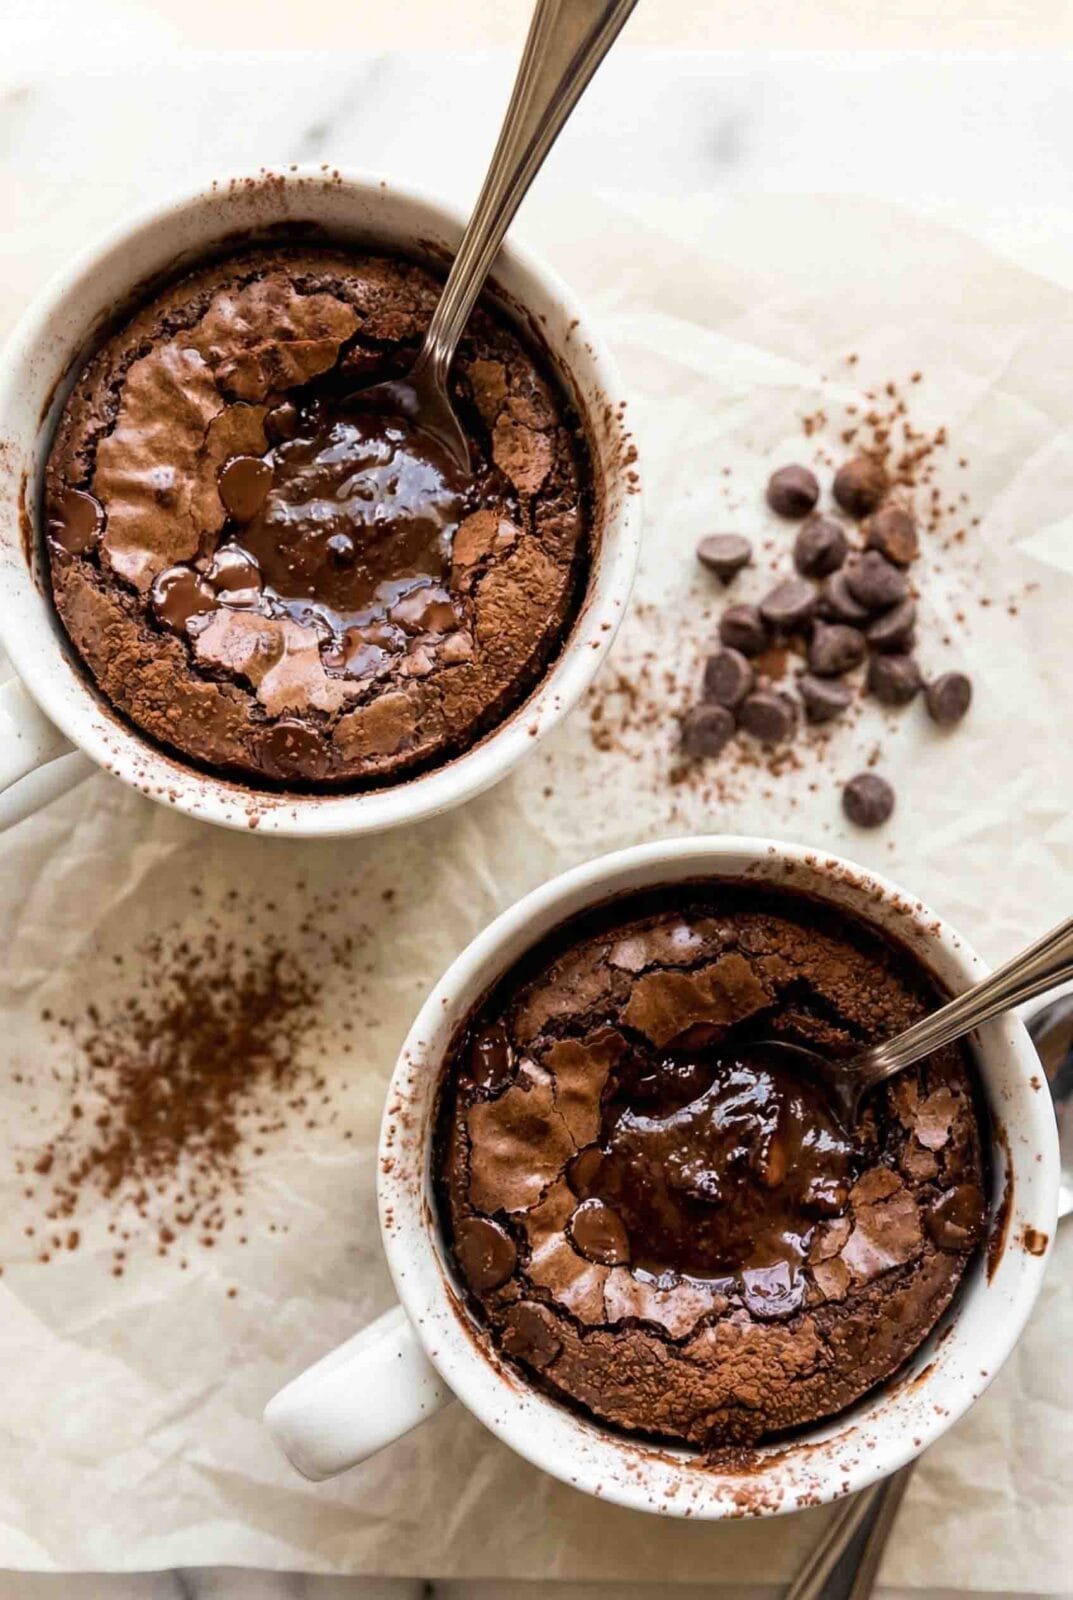
Microwave and Check
Microwave on high for 60-75 seconds. Watch through the door—the brownie will puff dramatically as it cooks, then settle slightly. The top should look set but still have a few glossy spots in the center. A toothpick inserted halfway between the center and edge should come out with a few moist crumbs, not wet batter.
If the edges look set but the center is still liquid, add 10-second intervals. Undercooking is better than overcooking—the residual heat continues cooking for 30 seconds after removal.
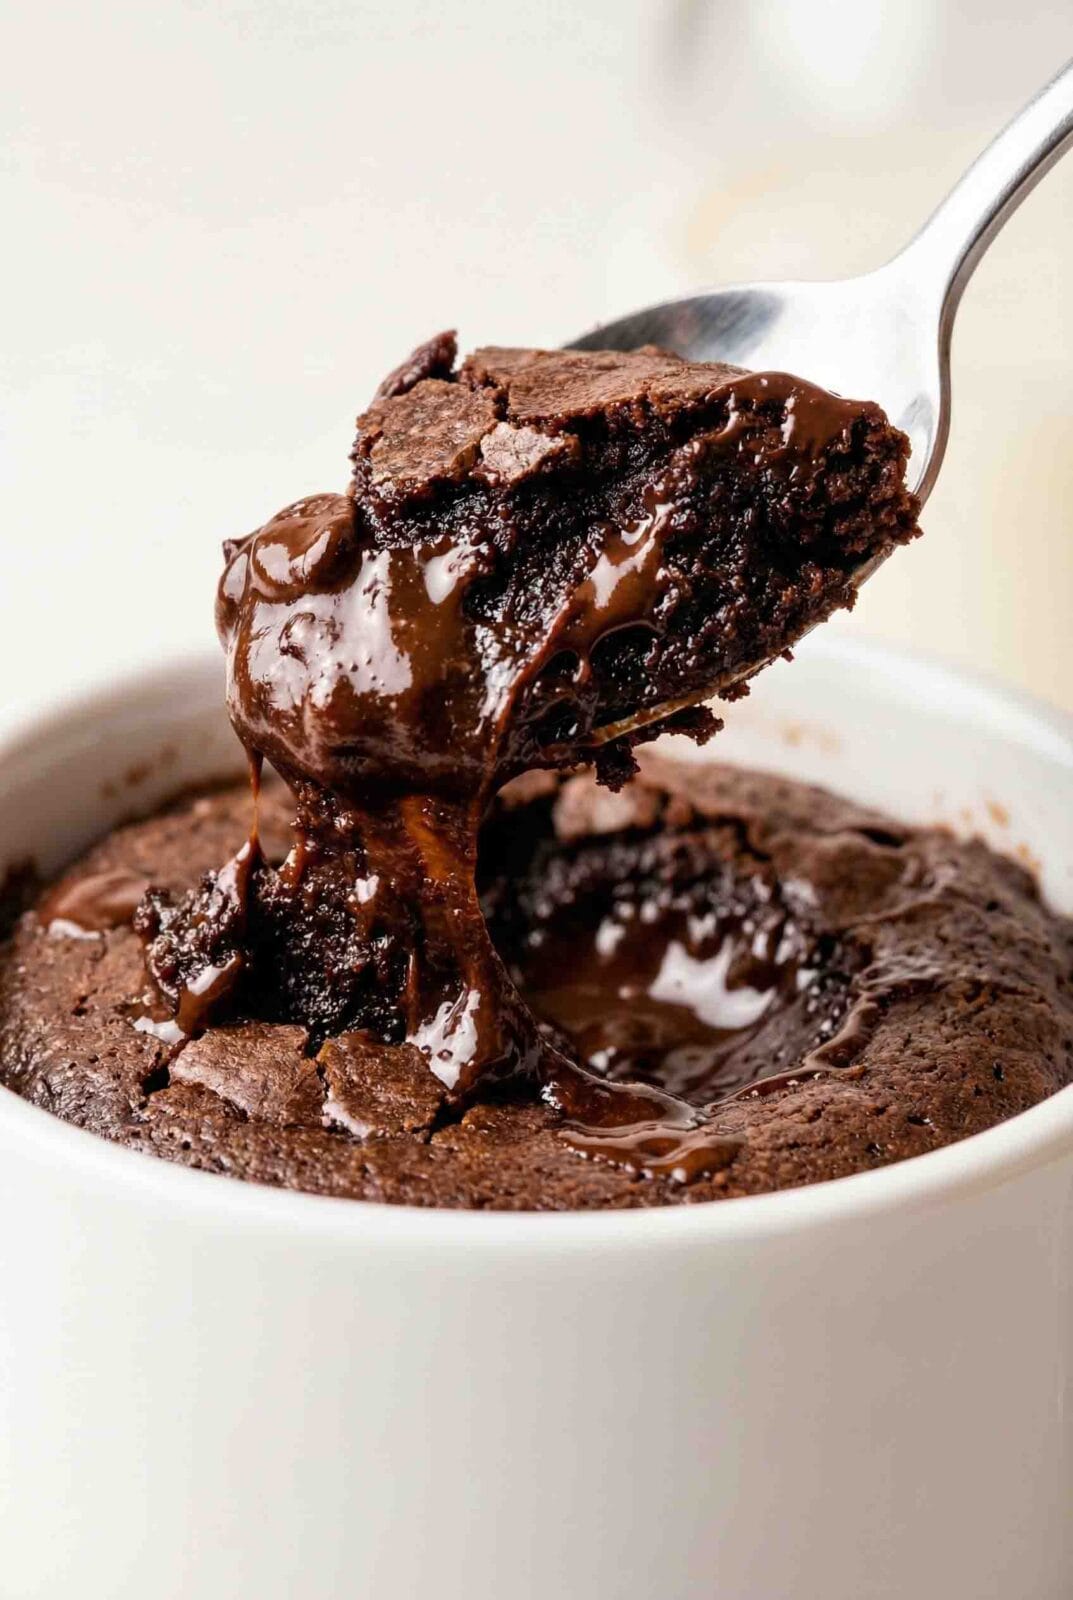
Cool Before Eating
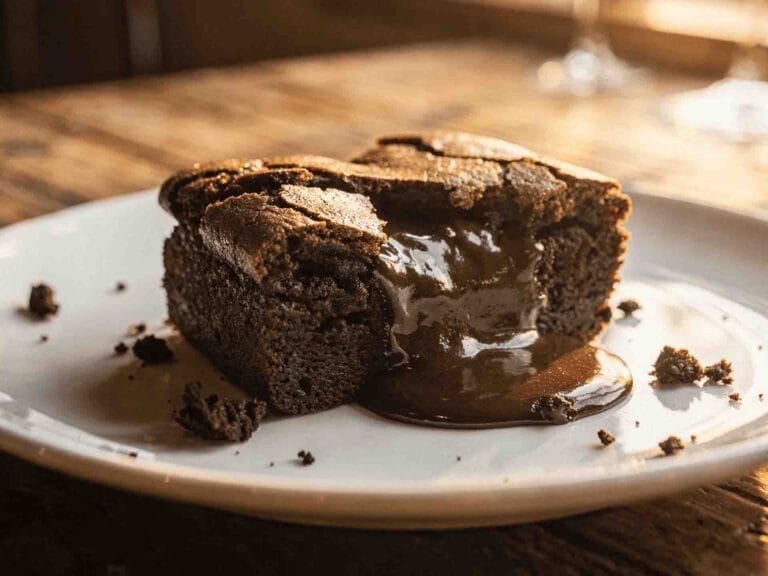
Let the mug sit for 2-3 minutes. The brownie is molten inside and will firm up as it cools to eating temperature. The texture transforms from lava-like to fudgy during this rest. Eat directly from the mug or slide onto a plate if you added toppings.
Pro Tip
Microwave wattages vary significantly. Start with 60 seconds if yours runs hot (1000+ watts), 75 seconds if it’s older or lower wattage. The brownie should look slightly underdone when you stop—it continues cooking from residual heat and will be perfectly fudgy after the 2-minute rest.
Expert Tips
- Check the center color through the mug glass if possible. The batter should shift from shiny black to matte brown when done.
- The top surface will look slightly wet even when properly cooked. This creates the fudgy texture after cooling.
- Edges pulling away from the mug signals the brownie is set. A tiny gap around the perimeter is ideal.
- Use a microwave-safe ceramic mug for even heating. Glass works but may create hot spots. Avoid metal or decorative metallic trim.
- Room temperature ingredients blend faster and create a smoother batter texture in single-serve recipes.
Storage & Freezing
Room Temperature: Best eaten fresh. The brownie will firm up and dry slightly after 2-4 hours at room temperature. Reheat for 10-15 seconds to restore softness.
Refrigerator: Store covered in the mug for up to 2 days. The texture becomes denser and fudge-like when cold. Microwave for 20 seconds before serving.
Freezing: Not recommended for mug brownies. The microwave cooking method doesn’t preserve well through freeze-thaw cycles. The texture becomes grainy and separates when reheated.
Make-Ahead: Measure dry ingredients into the mug, cover with plastic wrap, and store at room temperature for up to 1 week. Add wet ingredients and cook when ready.
FAQ
Can I make this without a microwave?
Bake at 350°F in an oven-safe mug for 12-15 minutes, checking at 10 minutes. The texture will be slightly drier than the microwave version but still fudgy.
Why is my mug brownie rubbery?
Overcooking is the main cause. Reduce cook time by 10-15 seconds next time. Using too much flour or overmixing the batter also creates dense, chewy texture.
Can I use different types of milk?
Yes. Almond milk, oat milk, and other non-dairy options work perfectly. The brownie may be slightly less rich but the texture stays consistent.
How do I know my microwave wattage?
Check the label inside the door or on the back panel. Most modern microwaves are 1000-1200 watts. If yours is 700-800 watts, add 15-20 seconds to the cook time.
Can I double this recipe in a larger mug?
Doubling requires a much larger mug (20+ oz) and 2-2.5 minutes cook time. It’s easier to make two separate single servings for consistent results.

Easy Mug Brownie (Ready in 2 Minutes)
Course: DessertCuisine: AmericanDifficulty: Easy1
2
minutes1
minute285
kcal3
minutesFudgy mug brownie ready in 90 seconds using just a microwave. One bowl, no mixer, perfect for late-night chocolate cravings when you need dessert immediately.
Ingredients
3 tablespoons All-Purpose Flour – spooned and leveled
3 tablespoons Granulated Sugar
2 tablespoons Unsweetened Cocoa Powder
2 tablespoons Vegetable Oil
3 tablespoons Milk – any percentage
1/4 teaspoon Vanilla Extract
1 pinch Salt
1 tablespoon Chocolate Chips – optional, mini or regular
Directions
- Add flour, sugar, and cocoa powder to a 12-16 ounce microwave-safe mug. Stir with a fork until completely combined with no cocoa streaks visible.
- Pour in oil, milk, and vanilla extract. Add salt. Stir just until the batter is smooth and glossy, about 20 seconds. Do not overmix. Fold in chocolate chips if using.
- Microwave on high power for 60-75 seconds, watching through the door. The brownie will puff up during cooking then settle. Stop when the top looks mostly set with a few glossy spots in the center.
- Let the mug sit for 2-3 minutes before eating. The brownie will firm from molten to fudgy texture during this rest period. Eat from the mug or slide onto a plate.
Notes
- Start with 60 seconds for 1000+ watt microwaves, 75 seconds for lower wattage. Add 10-second intervals if needed.
- The top should look slightly underdone when you stop—residual heat continues cooking.
- Measure flour by spooning into the measuring spoon and leveling off. Scooping directly from the bag adds too much and creates a dry brownie.