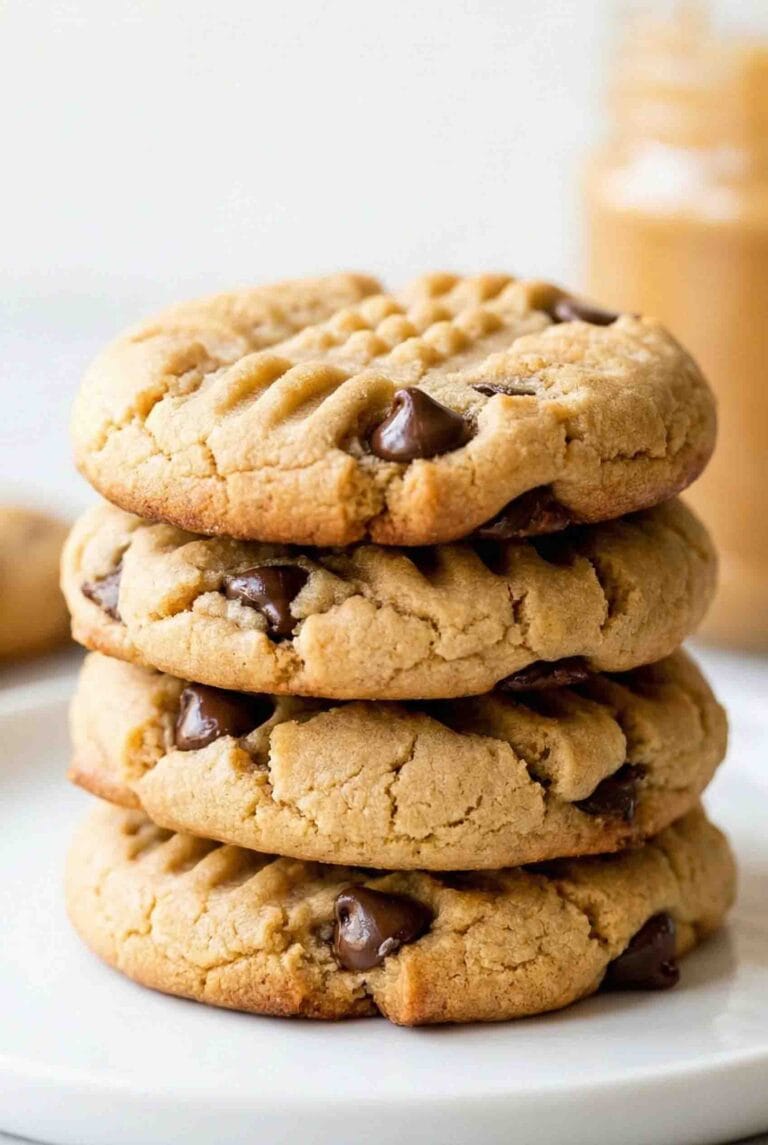
Gluten-Free Peanut Butter Cookies (Soft, Chewy, and Classic)
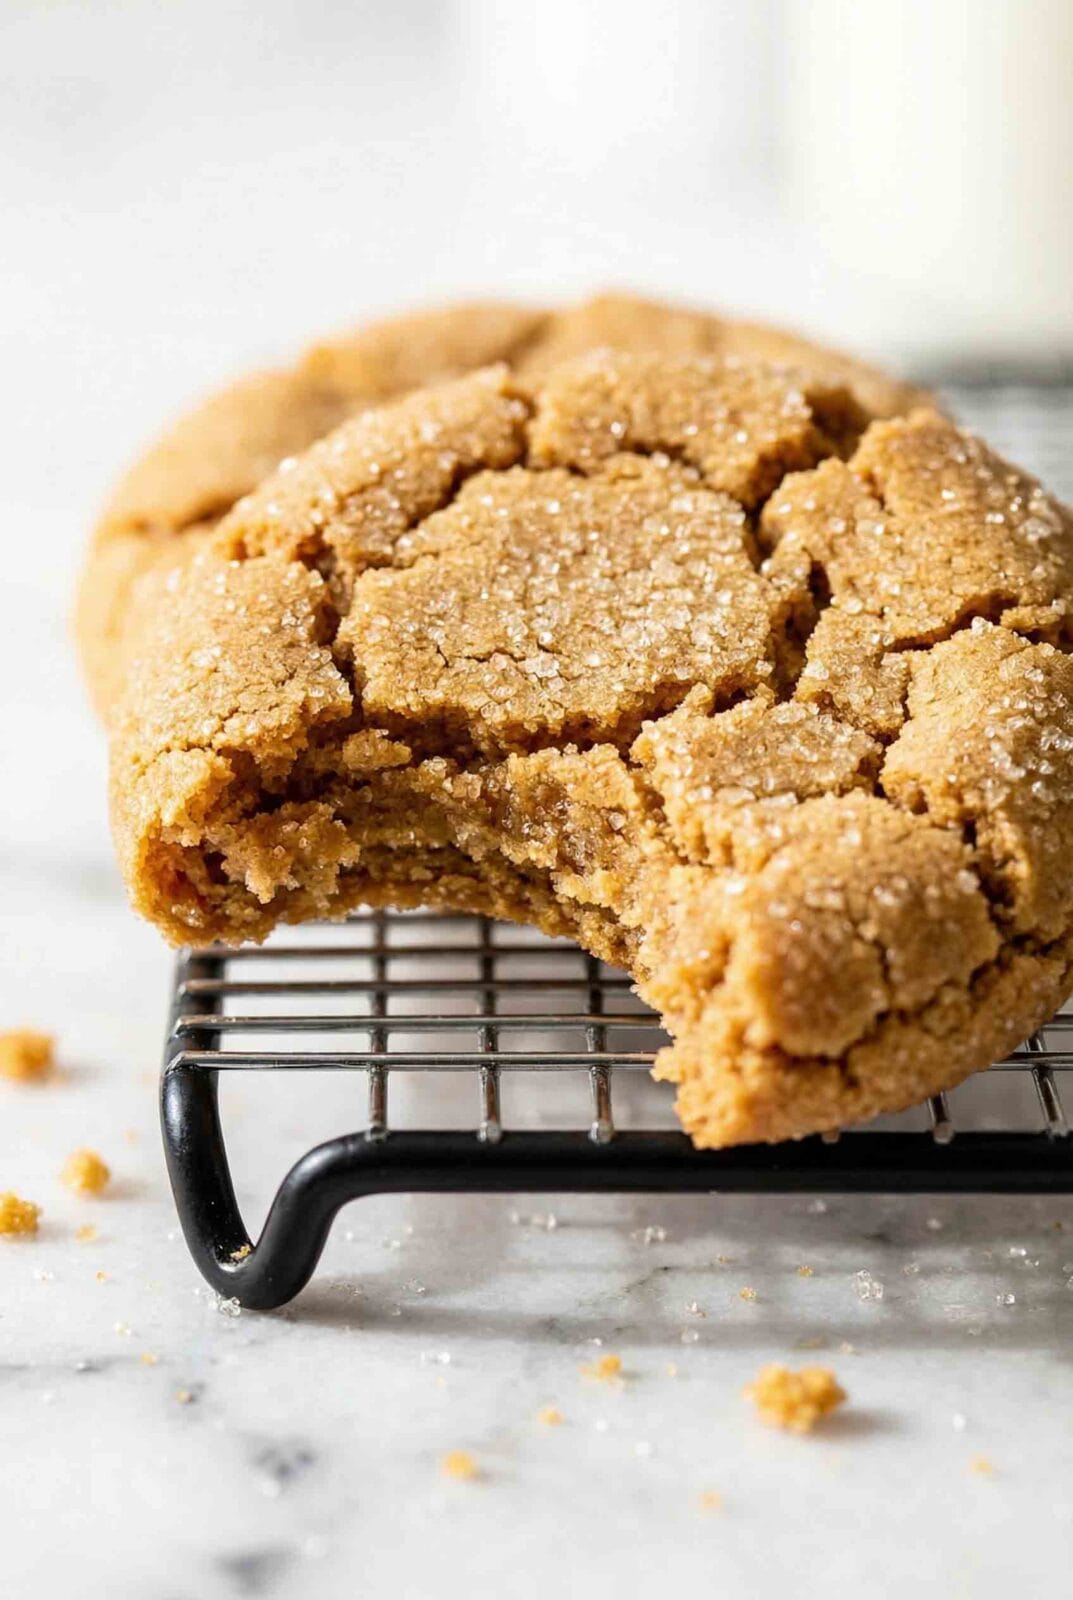
Warm, soft, gluten-free peanut butter cookies with a tender center and lightly set edges — the kind you reach for before they’ve even cooled. These bake up thick, chewy, and wonderfully peanut-buttery without feeling heavy or crumbly.
Quick Summary
This recipe uses a gluten-free flour blend, creamy no-stir peanut butter, and a quick dough rest to create a soft, cohesive cookie that bakes up tender in the center with lightly set edges. The method is simple: cream the fats and sugars, add the egg, mix in the dry ingredients, rest, scoop, and bake.
Gluten-Free Peanut Butter Cookies (Soft, Chewy, and Classic)
Course: DessertsCuisine: AmericanDifficulty: Easy24
cookies15
minutes10
minutes155
kcal45
minutesSoft and chewy gluten-free peanut butter cookies made with a simple gluten-free flour blend, creamy peanut butter, and brown sugar. Easy to make, rich in flavor, and perfect for a classic bakery-style cookie without the gluten.
Ingredients
1 1/4 cups Gluten-Free Flour Blend (187g)
1/2 teaspoon Baking Soda (2g)
1/4 teaspoon Salt (1g)
1/2 cup Unsalted Butter, softened (113g)
3/4 cup Creamy Peanut Butter (188g)
3/4 cup Brown Sugar, packed (150g)
1/4 cup Granulated Sugar (50g)
1 large Egg (50g)
1 teaspoon Vanilla Extract (5g)
Directions
- Whisk the gluten-free flour blend, baking soda, and salt in a bowl.
- Beat the butter, peanut butter, brown sugar, and granulated sugar until creamy.
- Mix in the egg and vanilla until smooth.
- Add the dry ingredients and mix just until combined.
- Let the dough rest at room temperature for 20–30 minutes.
- Preheat the oven to 350°F and line a baking sheet with parchment paper.
- Scoop 2-tablespoon portions of dough onto the sheet.
- Bake for 9–11 minutes, until the edges look set.
- Cool on the baking sheet for 10 minutes before moving to a rack.
Notes
- For the softest cookies, pull them from the oven when the centers still look slightly underdone.
Store in an airtight container at room temperature for 4–5 days or freeze baked cookies for up to 2 months. - International substitutions:
UK/Aus: Use a “gluten-free plain flour blend” with xanthan gum included.
If peanut butter brands differ, choose a creamy no-stir option for best texture.
Why This Recipe Works
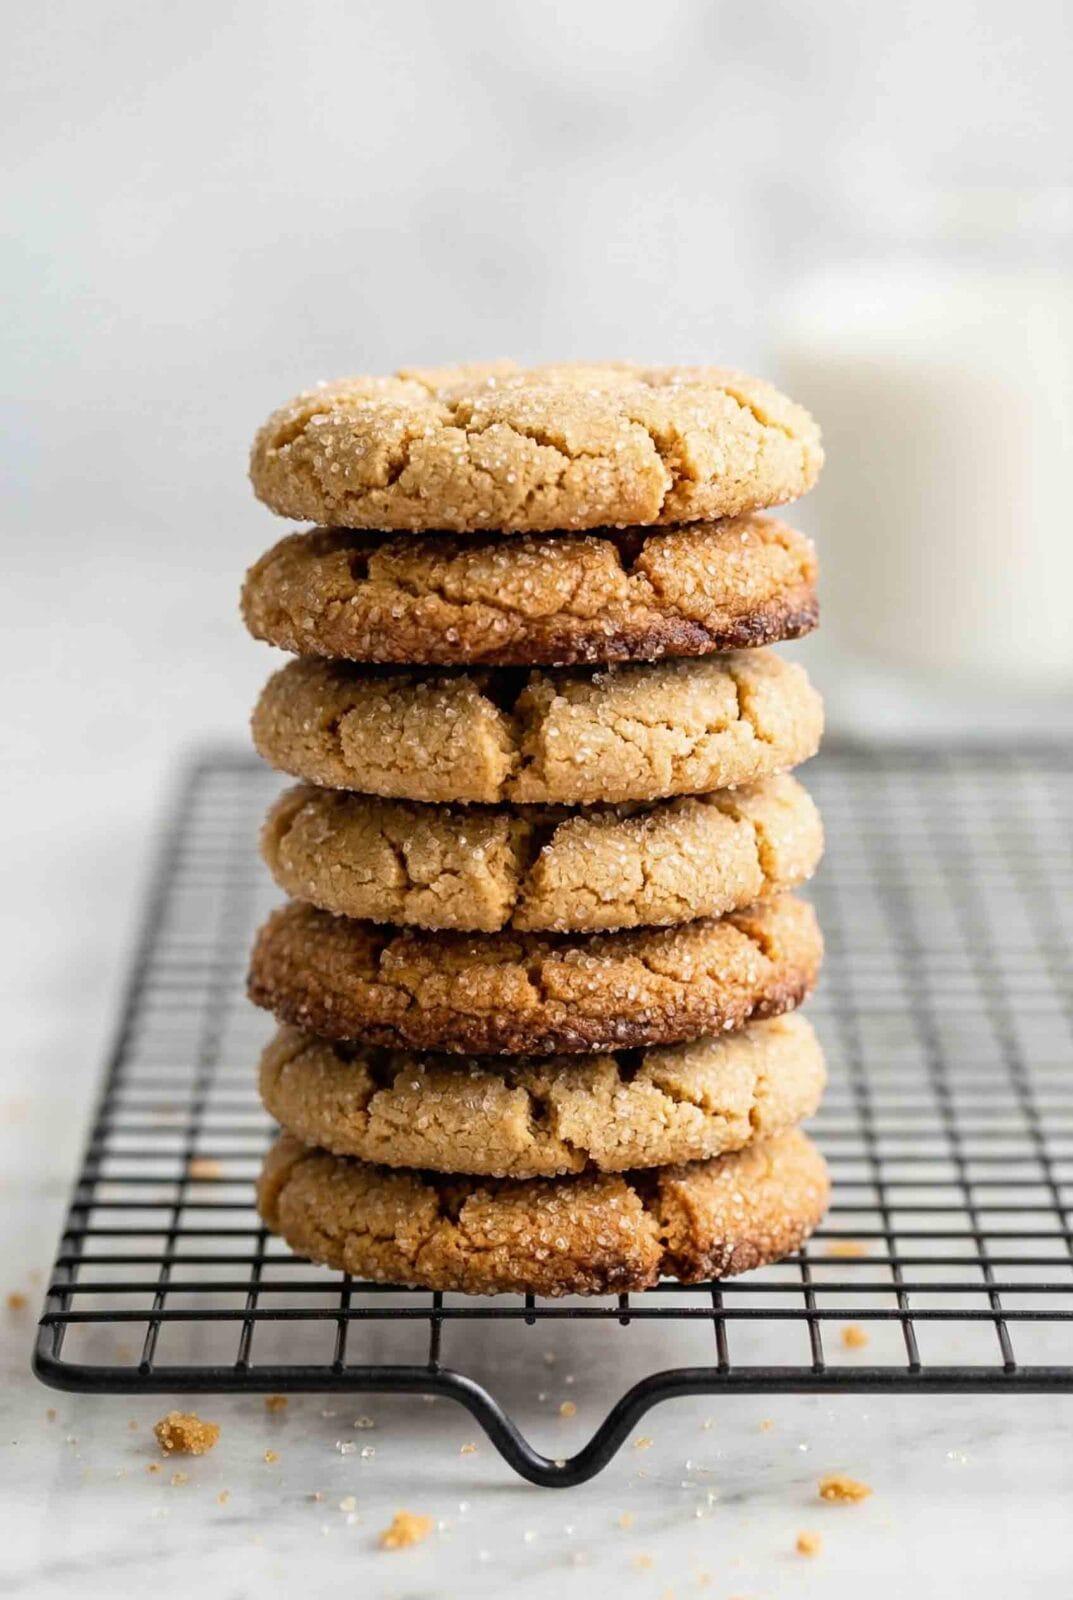
The balance of fats, sugars, and gluten-free flour gives these cookies a soft, chewy texture without falling apart. Creamy peanut butter blends smoothly into the dough, creating a consistent bakery-style cookie that stays tender even after cooling. A brief rest lets the dough settle and ensures an even bake with a gentle spread and a soft center.
Ingredients & Substitutions
Gluten-free flour blend: Use a blend that already includes xanthan gum. It helps the dough hold together so the cookies stay thick and chewy instead of falling apart.
Creamy peanut butter: A no-stir peanut butter gives the most consistent texture. It creates a smooth dough and a rich peanut flavor in every bite.
Brown sugar: Adds moisture and brings that chewy, bakery-style center.
Granulated sugar: Provides structure and helps the edges set.
Butter: Softened butter gives the dough richness and softness.
Egg: Binds the ingredients and gives the cookies lift.
Vanilla: Rounds out the peanut butter flavor.
Baking soda: Helps the cookies spread gently and bake evenly.
Salt: Keeps the sweetness balanced.
Simple substitutions:
- Use a dairy-free butter stick for a fully dairy-free cookie.
- Slightly salted peanut butter works as long as you enjoy a saltier edge.
Essential Equipment
- Cookie scoop for even portions
- Light-colored baking sheet for controlled browning
- Parchment paper or a silicone baking mat
- Hand mixer or stand mixer
How To Make Gluten-Free Peanut Butter Cookies
Cream the Butter, Peanut Butter, and Sugars
- Beat the butter, peanut butter, brown sugar, and granulated sugar until creamy.
- Keep mixing until the mixture looks fluffy and smells richly peanut-buttery.
Mix in the Egg and Vanilla
- Add the egg and vanilla and mix until smooth and fully combined.
- The dough should look glossy and unified at this stage.
Add the Dry Ingredients
- Stir in the gluten-free flour blend, baking soda, and salt.
- Mix only until combined; stop as soon as no streaks remain.
Rest the Dough
- Let the dough sit at room temperature for 20–30 minutes.
- This helps the flour settle and keeps the cookies from spreading too far.
Bake the Cookies
- Preheat the oven to 350°F and line a baking sheet with parchment paper.
- Scoop the dough into portions and place them a few inches apart. Bake for 9–11 minutes, or until the edges look set and the centers appear soft.
Cool for the Best Texture
They will firm up but stay soft in the center as they rest.
Let the cookies cool on the baking sheet for 10 minutes.
Pro Tip
If you prefer a thicker cookie, refrigerate the dough for 10–15 extra minutes before baking. A slightly cooler dough spreads more slowly and stays plump in the center.
Expert Tips
- Pull the cookies when the center still looks soft; they firm up as they cool.
- Use parchment if your cookies tend to brown too quickly underneath.
- If your dough feels stiff, give it a minute at room temperature before scooping.
- For a slightly crisp edge, bake one extra minute.
Storage & Freezing
To Store: Keep the cookies in an airtight container at room temperature. They stay soft for several days.
To Freeze Baked Cookies: Let them cool completely, then freeze in a sealed bag or container. Thaw at room temperature.
To Freeze Dough: Scoop the dough into balls, freeze on a tray, then transfer to a bag. Bake from frozen with a slight increase in baking time.
FAQ
- Can I make these dairy-free?
Yes. Use a dairy-free butter stick for the same texture and structure. - Can I use chunky peanut butter?
You can. It adds texture but doesn’t change the overall softness. - Why didn’t my cookies stay soft?
They may have baked slightly too long. Pull them when the centers still look a bit soft. - Can I chill the dough overnight?
Yes. Let it sit at room temperature for a few minutes before scooping. - Do I need to press the cookies down after baking?
You don’t have to, but gently pressing them while warm can give a more even surface.